RESIN, part 1

I recently leaped off the resin cliff. I have had a kit for almost a year and was too chicken to use it (I still haven't, actually). But I got some Easy Cast and after much internet research and flailing around, I finally bit the bullet and got down to business.

I love it.

I have mostly been using this e-book for recipes and how-tos. When I saw the amber recipe, I knew my days of being a resin chicken were numbered.

And how.

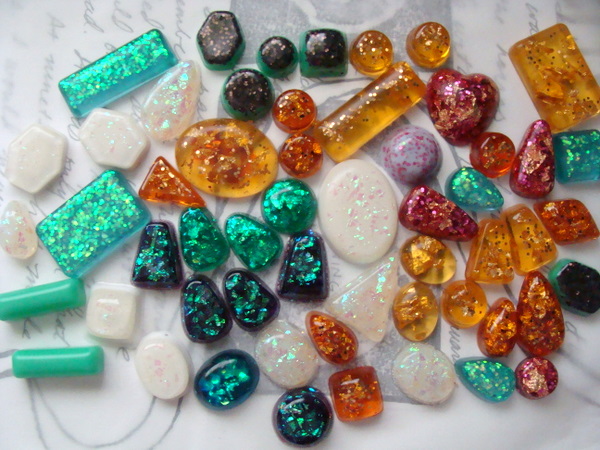
There are a ton of things wrong with my first batch, like a lot of bubbling, and I will have to trim and sand each piece, and there are some seriously gross looking experiments that are not pictured here. But here are some things I learned along the way:

  1. Glitter is heavy and if you mix it in while the resin is still in liquid form, it will sink to the bottom of the mold.
  2. Shredded iridescent mylar is found with the rest of the confetti in the gift wrapping section of Michael's.
  3. Don't fill the molds all the way to the top, or you will really have to trim every single piece (sigh).
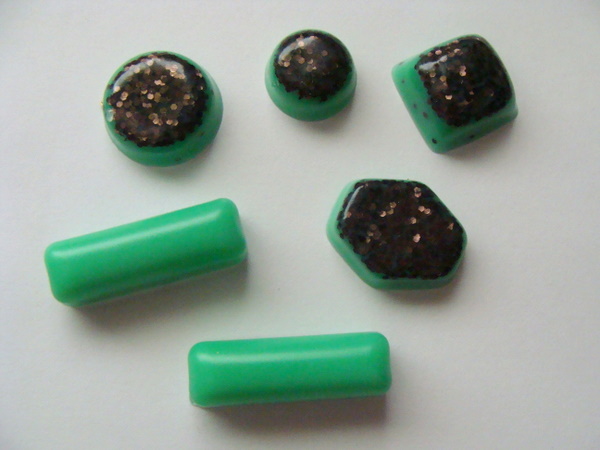
  4. Jade green resin + random shiny brown glitter = no.
  5. If you can't get the pieces out of the molds after they are cured (after 24 hours), quit messing around and put the molds in the freezer for five minutes. They'll pop right out after that.
  6. IT'S TOTALLY EASY.

As with most things I almost psych myself out of, this too was completely easy once I got going, and today when I did batch #2 I found it so much more simple.

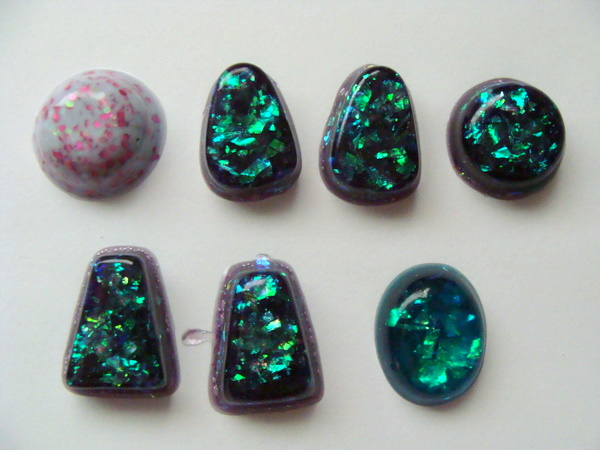
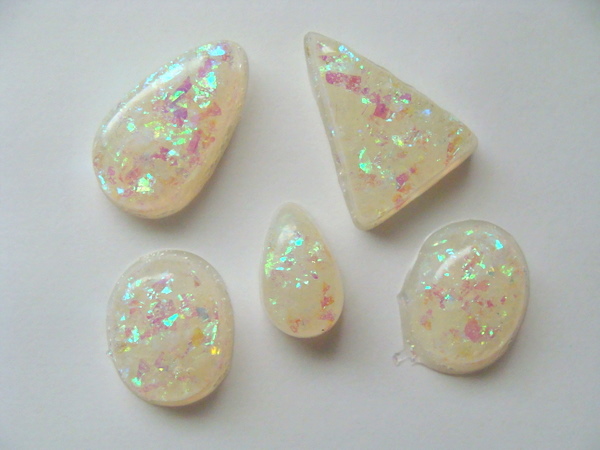
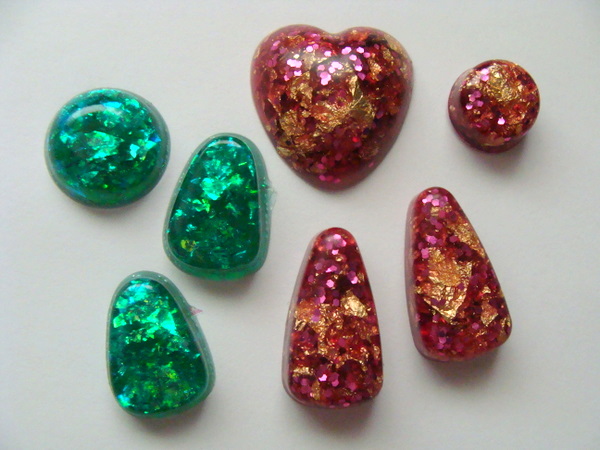
Here's some closeups of the different styles I attempted this go around:

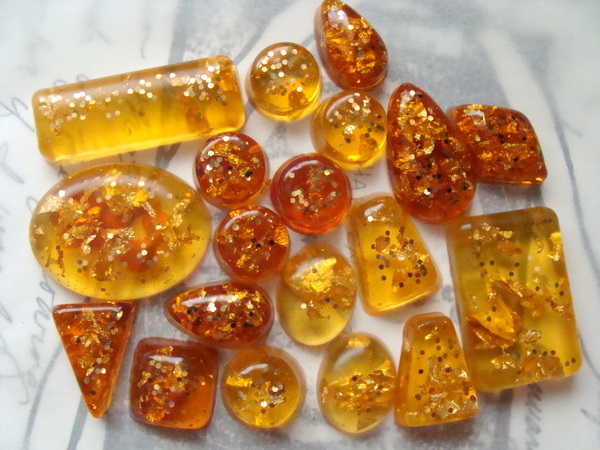
Faux amber (love this one!)

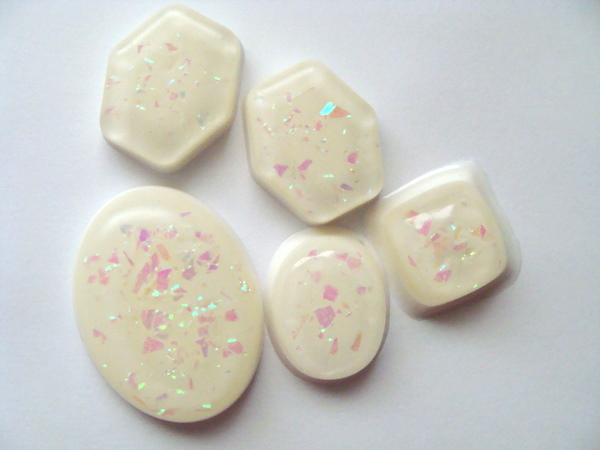
Faux opal (I messed this one up a little, so attempt #2 is in the second batch that is curing now – it still turned out okay though.)

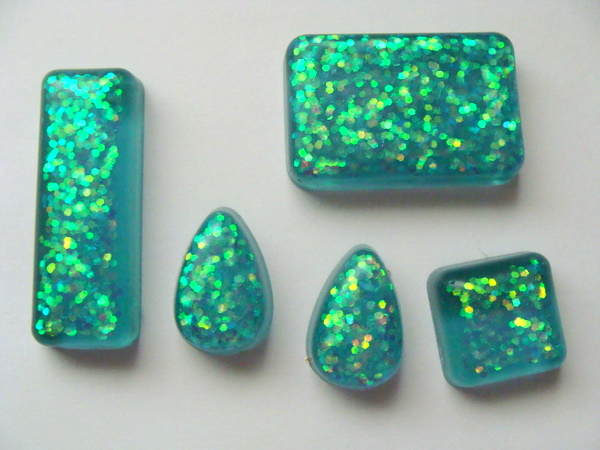
Iridescent white glitter mixed with turquoise resin – didn't turn out how I hoped, but a lesson learned and it looks fine, I actually like it a lot.

Mixing the shredded mylar confetti in with various colors (and clear). I think they turned out really neat.

I don't like these ones, but: learning curve.

So, there you have it! I will probably make a bunch of rings with these, and I also have a small hand drill to drill holes and whatnot, not to mention a lot of different bails to attach. The second batch I was more careful about bubbles and did a little more color (red) and so I'm looking forward to seeing how everything turns out.

A little mad scientist-y but I like it!
To Bead or Not to Bead

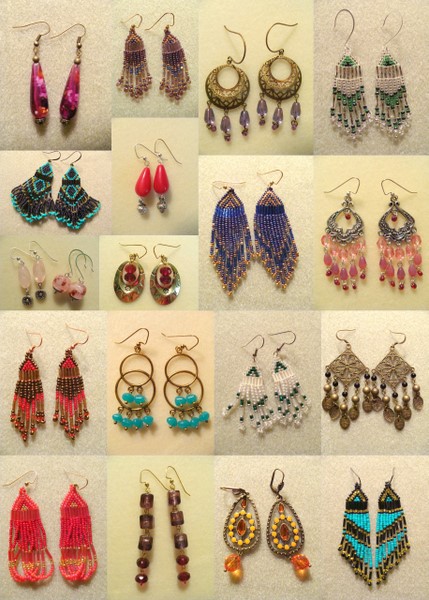
Lately I have been extremely into making earrings, as you can see…

All but one of these I've made in the last couple of weeks. I recently got back into bead weaving with seed beads, as you can see by the plethora of earrings done in a Native American-ish style. The one pair of earrings that I didn't make this week is the white and green beaded pair second from the right on the second-to-last row. I made those in high school, probably when I was about 15 or so. Obviously, classic styles never go out of style! That pair inspired several others, and I've really just been having a fun time putting colors together. 

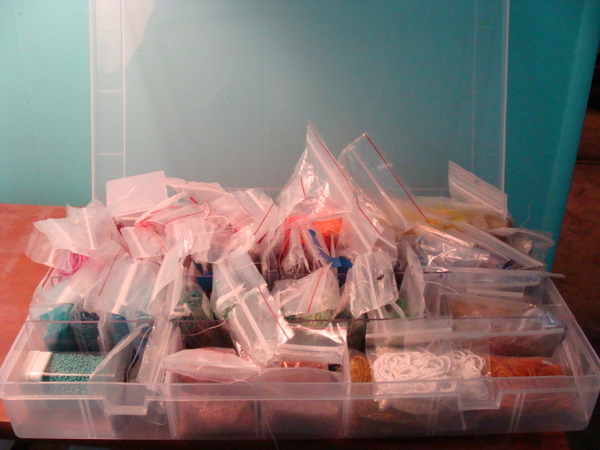
Late last year, my aunt January decided that she wanted to get rid of her extensive seed bead collection, and my cousin Janelle, aunt Jane, and I were the delighted recipients of the collection that we divided up amongst ourselves. I wound up with a case full of beautiful colors. 

Yep, the motherlode. 

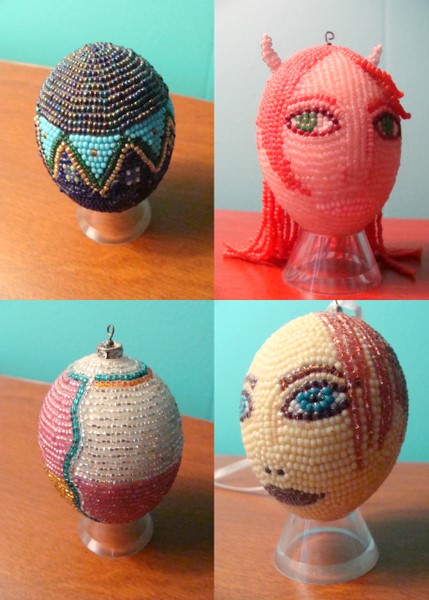
My aunt used to make beaded eggs with the seed beads, a very cool small sculpture using real egg shells. I have a few, two are characters I used to draw pictures for: 

Aren't they awesome? I keep them in my china cabinet for all to see. 

My aunt and cousin made necklaces for J out of the beads, and I have been sort of spinning my wheels for months trying to think of what to make, till I finally landed on the idea to make the earrings. And so, the proto-type craziness began. I've completed one pair so far, with two more to go, then I will send them off to her. 

Later this summer I will have my cousin over so I can show her how to make the earrings and also teach her how to use a bead loom. I haven't loomed in years, but it will be nice to get back to my beading roots. It wasn't until college and beyond that I developed my current style; for years and years I worked almost exclusively with seed beads. I recently found my collection of barrettes I made in high school – I will have to take pictures and show them, they are actually quite nice!

Anyway, so I have definitely been bitten by the bead bug this summer, no idea when the desire to knit will return. 

Refashioning Store-Bought Jewelry

While I don’t often buy jewelry (and why would I? I have a room full of supplies for custom awesomeness), I do go out to the stores to see what is trendy or new, and I occasionally buy pieces to take apart and refashion into better pieces.

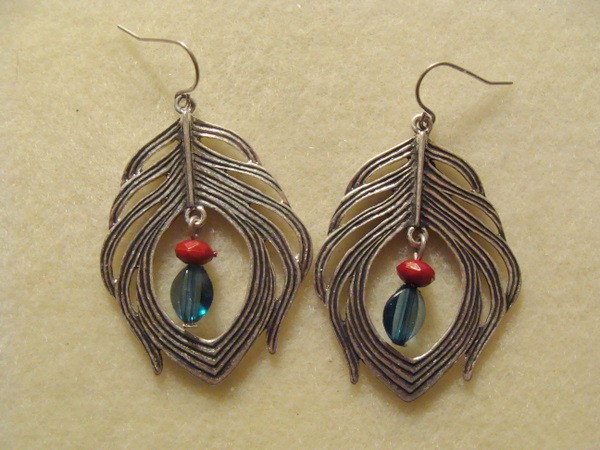
Last weekend I was at the mall and stopped into For Love 21, my favorite accessory store. It is an offshoot of the Forever 21 brand, so that means one thing: on trend, and cheap. I found the following earrings I couldn’t resist for the low low price of $3.80.

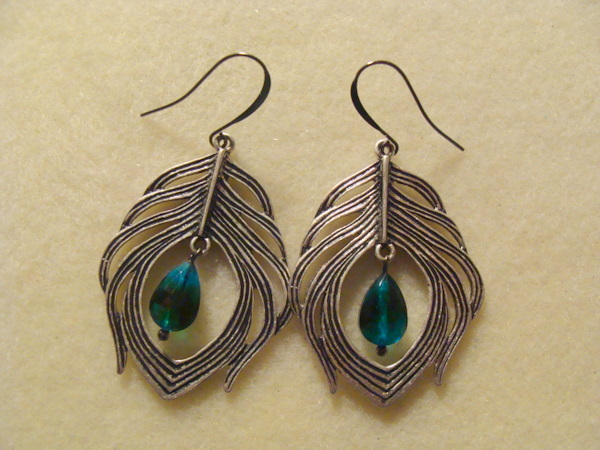
You can see the potential, right? The base metal peacock feather is fantastic. Well made, nice etching, etc. What really irritated me about these earrings are the insanely crappy ear-hooks (only tiny people with tiny ears can wear that kind of ear wire), and the even crappier beads. Plastic! Bad colors! I shudder to think. Yuck.

Okay, so I took them all apart and refashioned them with high quality gunmetal findings and glass beads in appropriate colors for less than a dollar. So my *new* earrings still cost less than $5. And they are magnifique, yo.

So don’t discount the mall for finding supplies. You might be surprised at what you find, and how you can improve the pieces to your own standards and taste.

You can buy (and subsequently upgrade) your own pair of earrings here. I think they would also look good with pale pink, like albino peacocks.