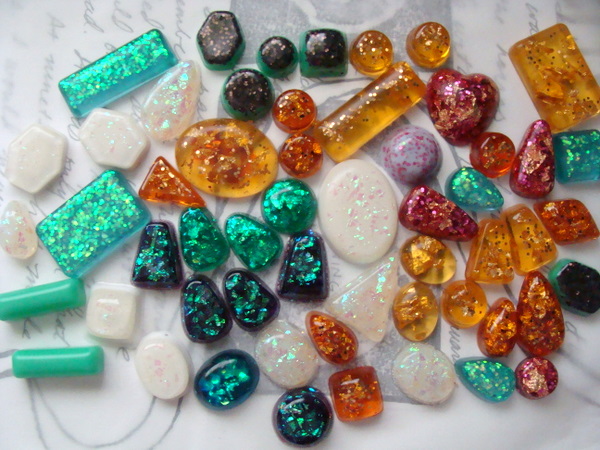
I recently leaped off the resin cliff. I have had a kit for almost a year and was too chicken to use it (I still haven't, actually). But I got some Easy Cast and after much internet research and flailing around, I finally bit the bullet and got down to business.
I love it.
I have mostly been using this e-book for recipes and how-tos. When I saw the amber recipe, I knew my days of being a resin chicken were numbered.
And how.
There are a ton of things wrong with my first batch, like a lot of bubbling, and I will have to trim and sand each piece, and there are some seriously gross looking experiments that are not pictured here. But here are some things I learned along the way:
- Glitter is heavy and if you mix it in while the resin is still in liquid form, it will sink to the bottom of the mold.
- Shredded iridescent mylar is found with the rest of the confetti in the gift wrapping section of Michael's.
- Don't fill the molds all the way to the top, or you will really have to trim every single piece (sigh).
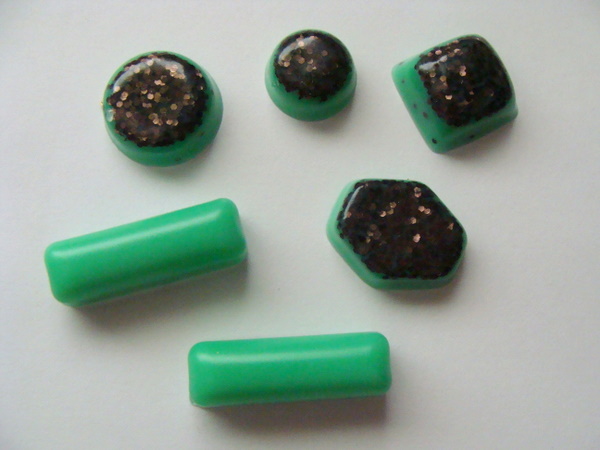
- Jade green resin + random shiny brown glitter = no.
- If you can't get the pieces out of the molds after they are cured (after 24 hours), quit messing around and put the molds in the freezer for five minutes. They'll pop right out after that.
- IT'S TOTALLY EASY.
As with most things I almost psych myself out of, this too was completely easy once I got going, and today when I did batch #2 I found it so much more simple.
Here's some closeups of the different styles I attempted this go around:
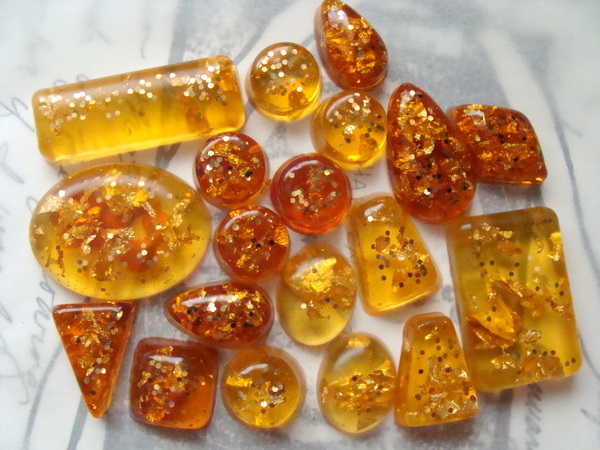
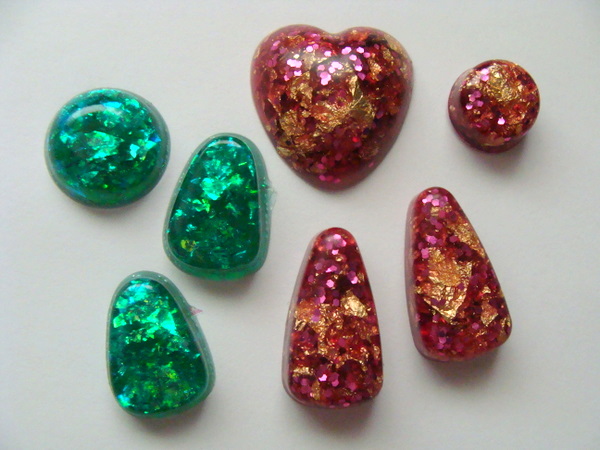
Faux amber (love this one!)
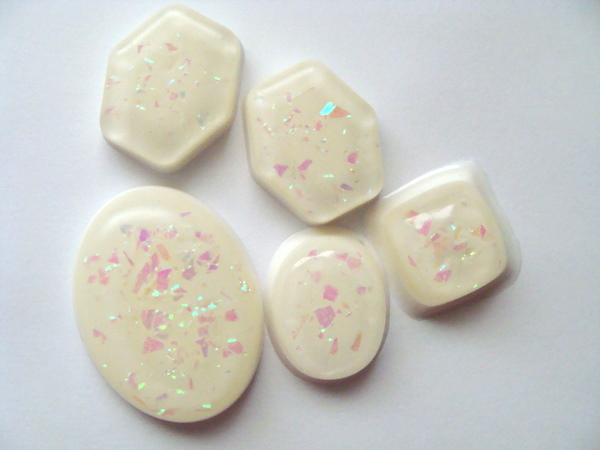
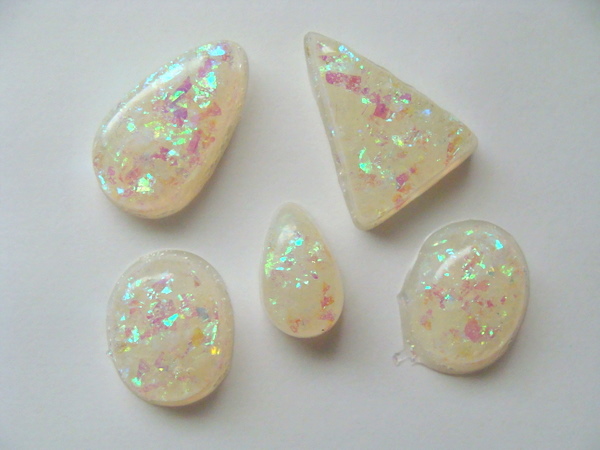
Faux opal (I messed this one up a little, so attempt #2 is in the second batch that is curing now – it still turned out okay though.)
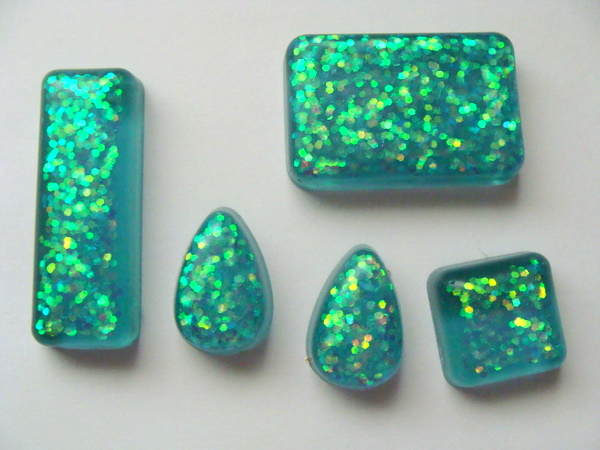
Iridescent white glitter mixed with turquoise resin – didn't turn out how I hoped, but a lesson learned and it looks fine, I actually like it a lot.
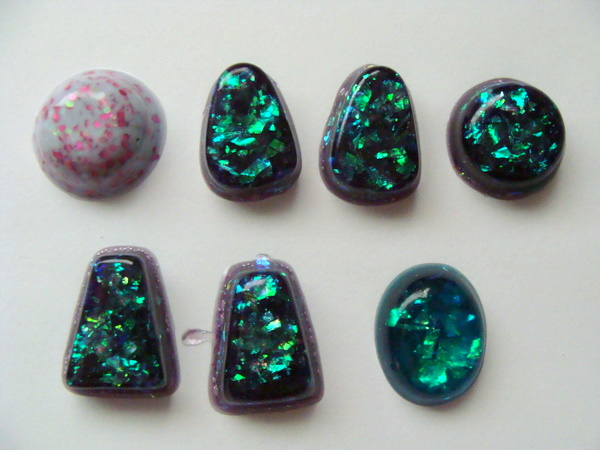
Mixing the shredded mylar confetti in with various colors (and clear). I think they turned out really neat.
I don't like these ones, but: learning curve.
So, there you have it! I will probably make a bunch of rings with these, and I also have a small hand drill to drill holes and whatnot, not to mention a lot of different bails to attach. The second batch I was more careful about bubbles and did a little more color (red) and so I'm looking forward to seeing how everything turns out.
A little mad scientist-y but I like it!
